Search This Blog

Friday 28 October 2016

Flowery Canvas by Guest Designer Catherine

Hello Crafter's

Hello. Catherine from Inkyfingeredcat here to share another project I made using the steampunk goodie box.


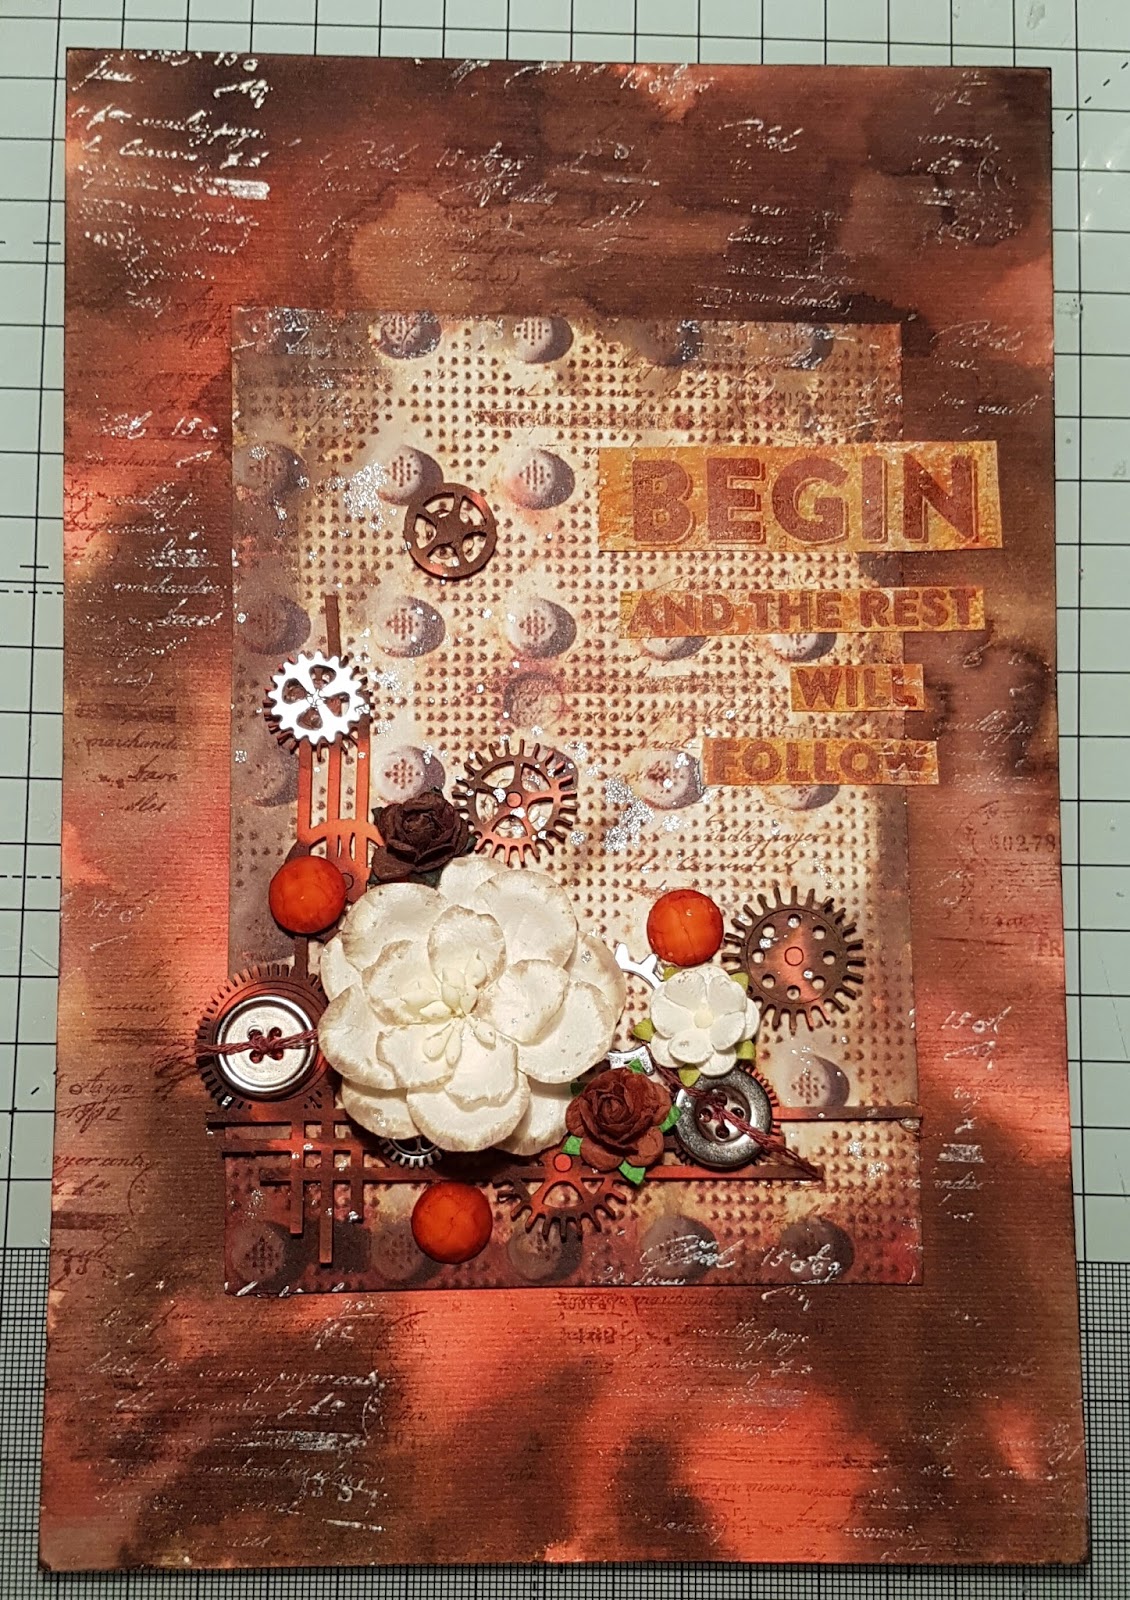
 I decided to make another canvas as I had had such fun with the Christmas tree one I shared a few days ago. So I grabbed another canvas board and added distress stain and water to blend all around the edge. I knew I would be covering the middle so didn't bother with that. 


I then used the same distress stains to add colour to the laser cut cogs panel and other cogs in the set. Love how cool these look


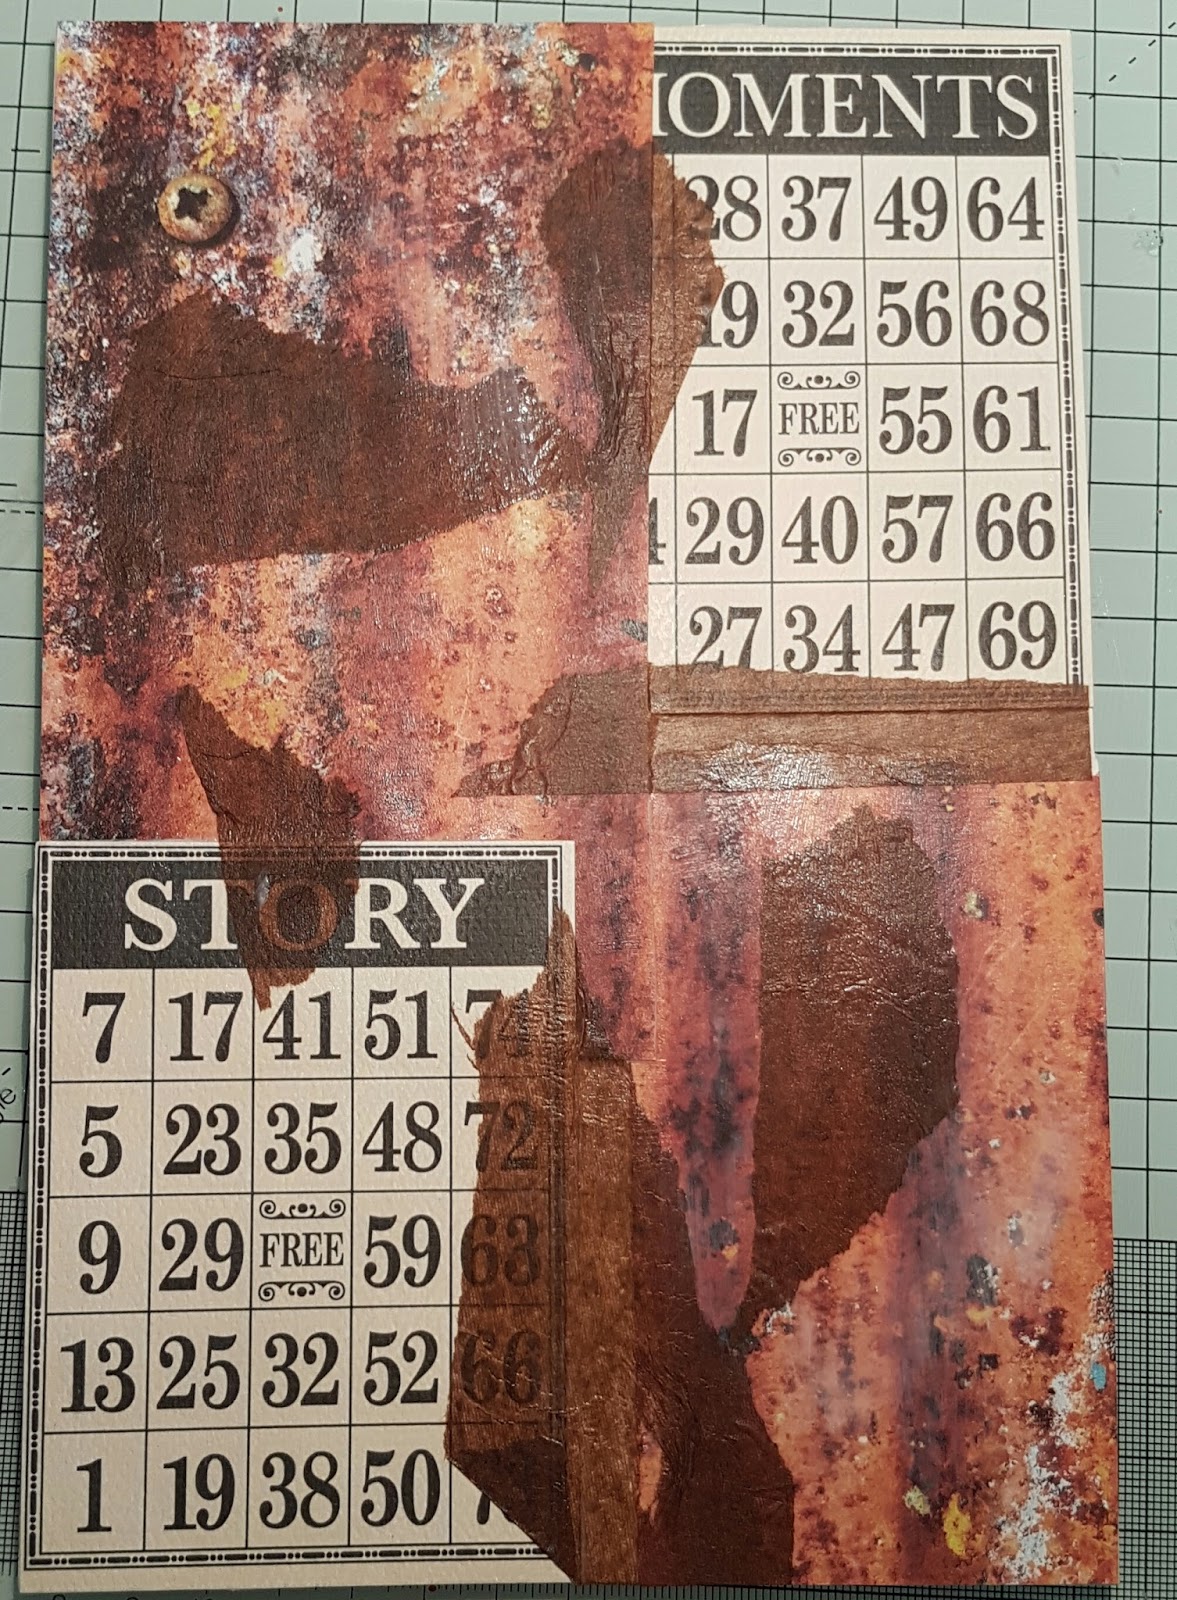
I then grabbed some of the fab industrial themed paper from the Goodie box and inked the edge of it in the same stains, mainly the brown. I then started building a little cluster of loveliness... of course I forgot to take pictures as I was so busy enjoying myself! 


Whilst letting this all dry I turned my attention back to the background canvas. I added a little bit of text stamping in archival brown and some pigment white. This just added a little more interest whilst remaining subtle. 


I then glued down the paper panel and added the title which is another bit of stamping on some brayered book print and added a bit more of the white stamping.  

Once it was dry I used a mixture of Inktense pencils and Faber-Castell castellated Pitt pens to add definition and shading... and the white sharpie for highlights too!


I've loved playing with the many steampunk goodies in the box this month and still have loads left to keep playing with.  Such fun!

Catherine X 

Wow another fab project, love the rich colours, they work so well with the embellishments and paper from the box. A huge thanks the Catherine and the blog posts this week, if you love her work please follow the blog link below and hopefully we will see some more work soon:) 


If you love the creations Catherine made and would like to order a goodie box either on subscription or as a one off please go to http://www.artfuldays.co.uk/
The current theme is It's Christmas boxed up and is available to pre-order now.

Thanks for looking and please leave a nice comment. 

Jules xx


Wednesday 26 October 2016

Steampunk ATC's by Guest Designer Catherine

Hello Crafter's 

Catherine from Inkyfingeredcat here to share another project using the fabulous steampunk goodie box.  This time I've returned to my current obsession... ATC's. I just love creating these little mini art pieces. 


Steampunk ATC's

I started with some pieces of left over cardstock I had used as scratch paper and cut them just a bit smaller than ATC standard size of 2.5inch by 3.5inch.  I then added some tissue paper to add texture.  Next I added some paint using a couple of colours... Buff and mustard. 


Next I took some of the lovely embossed cardstock and ripped some small pieces up to adhere to the little art pieces.  I then added Bistre and water to colour the cardstock. It looked fab when drying with the colour round the embossed patterns but with the water the definition of the patterns disappeared... so lesson to me don't add water to keep embossing. However I do love how the Bistre flowed and dried. 


I took some of the lovely tape measure ribbon and added some to each card.  I also added some Inktense shading to the edges of the ripped cardstock. 


Next to adding some embellishments... I also cut up one of the bingo cards to add the numbers and words. At this point I was just working out what layouts to use so there was a balance to each of the little works of art.

I decided however to add some hand sewing to each of them to add more texture and then started sticking things in place. It is at this point that I got a little carried away creating and forgot about the taking of photos.

What did I add as finishing touches... well those flowers were so cute and were begging to be used.  Of course, there was also the adding of bling.... some glass glitter and bead gel. 


And so a lovely trio of ATC's created from the wonderful selection of goodies and still very little used up in the generous box.  The great news about this ... I get to carry on playing and being inspired by the lovely stuff.

Catherine x

Well these are stunning, love all the details on a small project and the way you have cut up the little bingo cards. thank you Catherine. If you love this then check out Catherine's blog https://catiecuddles.wordpress.com

Thanks for looking and please leave a nice comment 


Jules xx


Monday 24 October 2016

Steampunk Christmas Tree by Guest Designer Catherine


Hello Crafter's

This week we have Guest Designer Catherine on board to show you her fantastic makes with the October Steampunk goodie box.
I've been crafting for about 12 years on and off but obsessively for about 6 years.  About 4 years ago I started dabbling in mixed media and now can't seem to do anything without getting six hundred things out to add to my creations. I still love clean and simple but increasingly my artwork is become more layered and textured and paint is replacing ink more often now. I love my creative time where I can explore colour, texture and pretty things!


CHRISTMAS TREE CANVAS

Hello all... Catherine here from Inkyfingeredcat. I have a Christmas tree canvas that I made using the fabulous steampunk goodies in this months box.  

I started with a canvas board and added papers, some of the bingo cards and tissue paper from the packaging to coat the base. 
I then added paints in yellows and oranges to blend them together. 


Next I added some of the Bistre powder and water to darken down the background.  I've never used bistre before so must admit it was nice to try it out even if at this point the effect wasn't quite what I wanted.


Next I set about cutting up papers to make the tree shape.  I was inspired by some folk art trees I had seen and wanted it to look quite abstract knowing I was going to then construct the embellishments on top to ''dress" the tree. 


So by the time I took this picture I had managed to put together the trunk from the zip, some tinsel and trim with the ribbon and string and a few embellishments.  I had also added some shading with Inktense pencils.  I had also decided blue was the contrast colour to use and stapled the pieces together with some blue staples.  I had also decided to let the tree stand out more I needed to add some cream paint around the edge of the tree to balance it a bit more. 

Now the really fun bit adding loads more embellishments.


 I used the fabulous metal cogs and the gorgeous blue gems to continue to dress the tree. I also added some blue mica to the wooden cogs and some glass glitter ... after all a Christmas tree needs bling! 

I also added more bistre to the edge and some more Inktense pencil shading to ensure it was all defined.  I finished off with a little bit of the pearlescent paint flicked across the whole canvas to give some lovely flecks glimmer.


Really pleased with how this turned out and at how I have barely made a dent in the Goodie box... which means plenty more projects to be made! 

Catherine x

Wow, what a fantasic and creative project, thank you Catherine. If you love this then check out Catherine's blog https://catiecuddles.wordpress.com


Thanks for looking and please leave a nice comment 


Jules xx